|
| Silver glitter |
 |
| Gold Glitter |
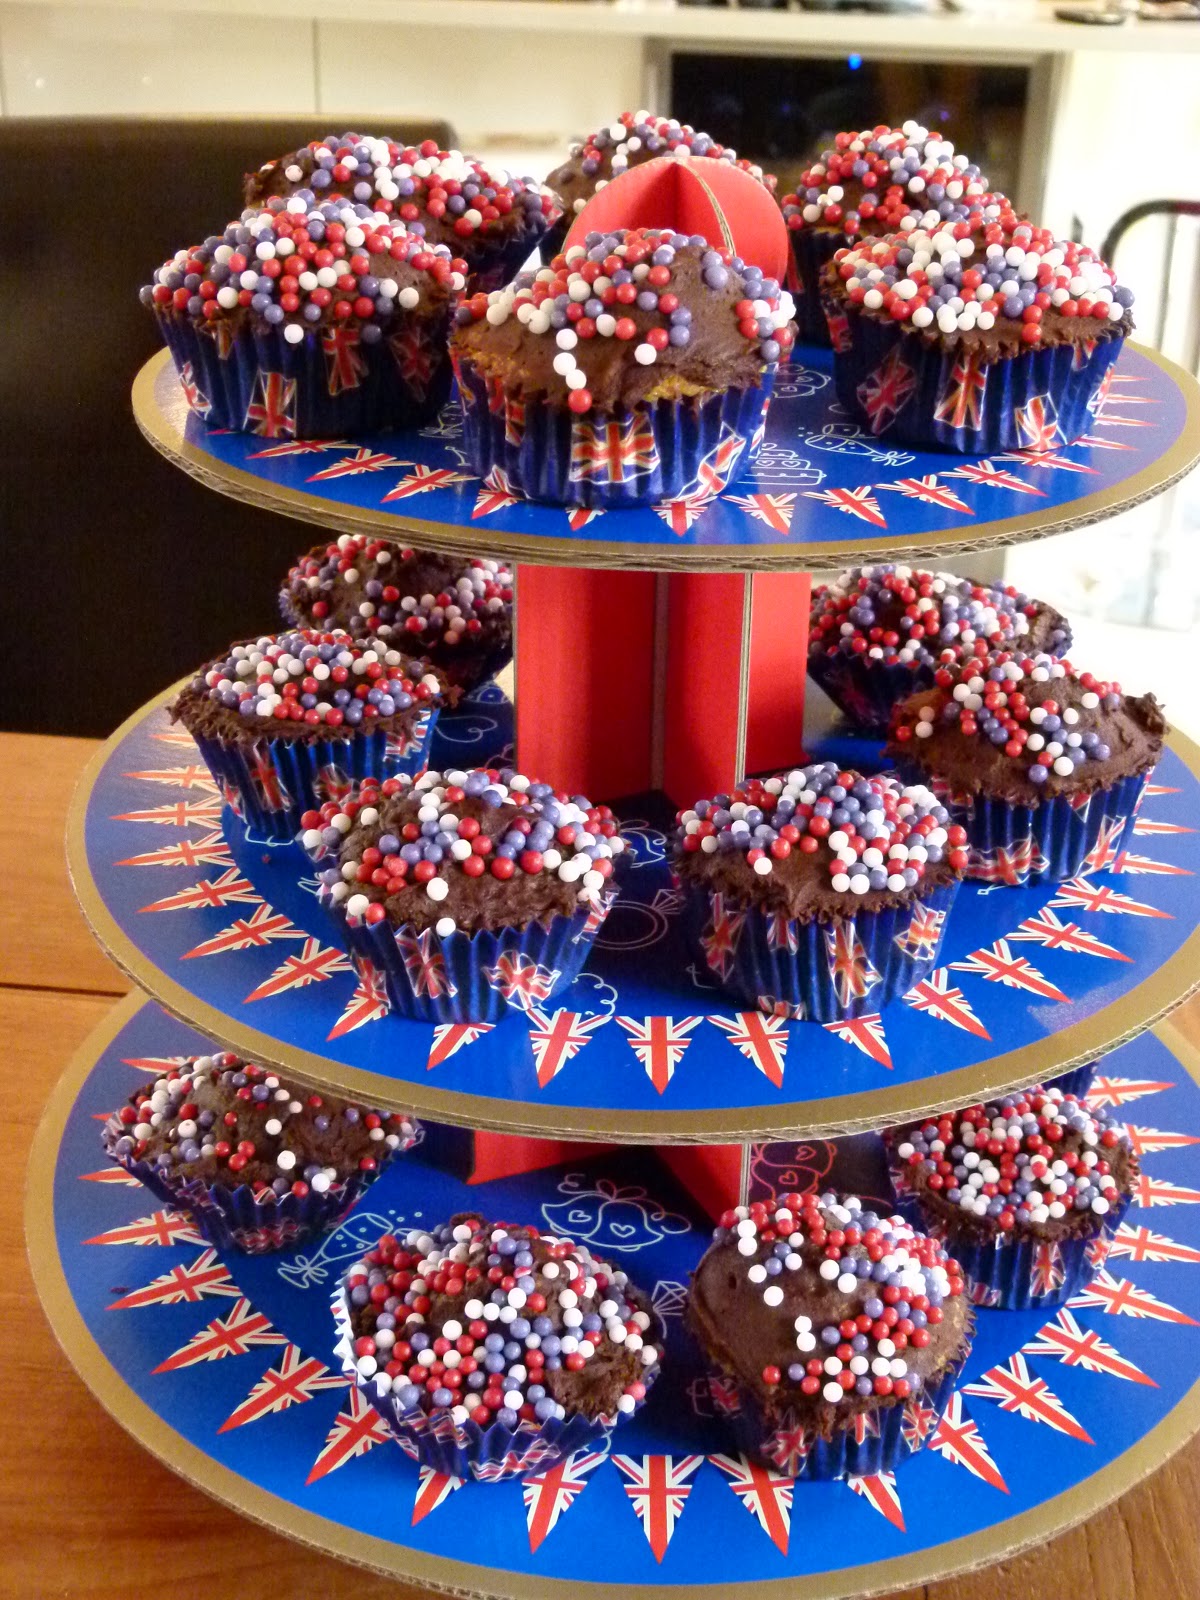
Merry Christmas.


Recipe: (from the Mary Berry Ultimate Cake Book)
Ingredients
4tbsp cocoa
4 tbsp hot water
225g butter
225g caster sugar
275g self raising flour
2 tsp baking powder
4 eggs
4 tbsp milk
- Blend the cocoa and water and allow to cool slightly. Add the other ingredients and mix. Turn into a lined tin and level the surface. Bake at 180c for 25-35 minutes (until the cake has risen and is springy to the touch)
For the icing:
3 tbsp apricot jam
150g Plain Chocolate
6tbsp water
350g icing sugar
1 tsp sunflower oil
- Warm the apricot jam slightly and brush over the cake.
- Melt chocolate in a pan with the water until smooth. Allow to cool slightly and add the sifted icing sugar and oil, stir until smooth. Spread evenly on top of the cake with a palette knife.
Also a few festive photos from around the house -